A very interesting activity nowadays is to decorate everything around with handicrafts of your own making. Home craftswomen are seriously engaged in this.
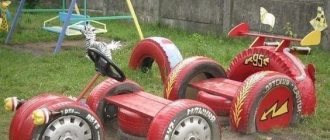
In their spare time, they create works of art from what can practically be called garbage. Everything from beads and pebbles to concrete, bricks and leftover building materials is used.
Gypsum is a building mixture that is used for various purposes. And, as you may have guessed, it is also no exception among ornamental materials.
In the photos online, plaster crafts look simply excellent. But not many people imagine exactly how to construct even the simplest options. This is the topic that will be discussed in our article.
How to dilute plaster correctly
Of course, no one will sculpt anything from a dry mixture. Therefore, you need to know exactly how to make a gypsum mixture correctly before you start making your first masterpieces.
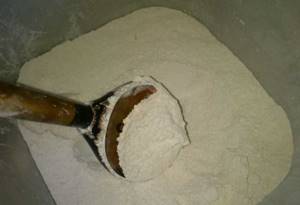
In order to dilute gypsum, you need to purchase it. In this regard, the question arises, where to buy plaster for crafts?
Everything is extremely easy; pharmacies sell our mixture at a low price. You can purchase special construction plaster, which will be a little better and in larger quantities.
And, as the name implies, you can buy such plaster at any hardware store and some hardware stores.

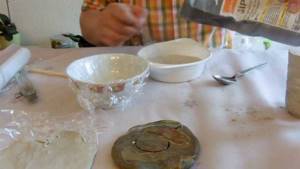
In order to be sure to make the desired craft at once and with high quality, you need to think about the amount of solution.
Find a large capacity container that you won’t mind and dilute it directly in it. If a certain amount of gypsum turns out to be excessive, then something else can be made from it. Therefore, cook a little more substance than needed.
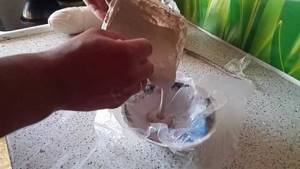
Let's figure out how to dilute plaster for crafts.
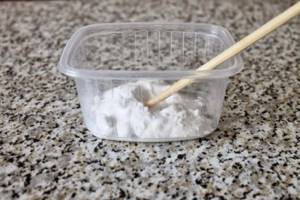
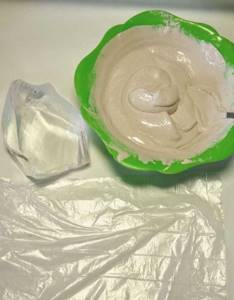
Making the right solution is quite easy. First of all, the required amount of plaster is poured into the bowl. Then a small depression is made in it, into which water is gradually poured.
We begin to slowly knead using a stick. If the solution turns out to be very thick, then add water during the process. The mortar should have the consistency of concrete for pouring a foundation or masonry.
You should remember safety precautions when preparing. Wear a respirator or medical mask.
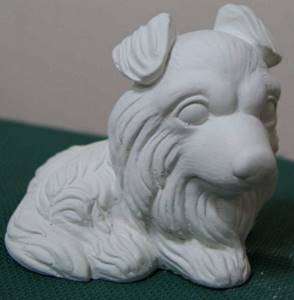
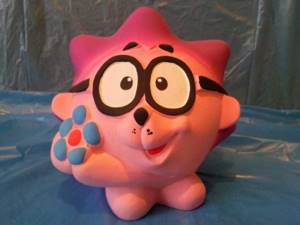
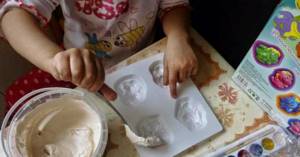
It is easy to make decorative figures from ready-made plaster, not only for decorating your home and garden, but also as crafts for kindergarten.
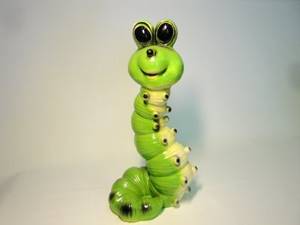
Simple caterpillar
We will need:
- Gypsum;
- The glue is waterproof;
- Dye;
- Priming;
- Clear varnish;
- Brush.
Let's get to work. It is necessary to mold several flattened balls of various sizes and shapes (about 10 pieces). Next we make 2 balls for the eyes. They can be small or, on the contrary, large - as you like. We wait until all the elements dry. Using glue, we attach all parts of the caterpillar, making any shape for the body of our figure. We glue the eyes on the head.
We cover our craft with soil and give it time to dry (about 2 hours). We paint the caterpillar with bright colors and dry it.
Related article: Seamless raglan knitting: patterns with step-by-step descriptions and video
Using waterproof varnish, we cover our craft with it and leave it to dry. A bright, lively and slightly fabulous figurine for the garden is ready.
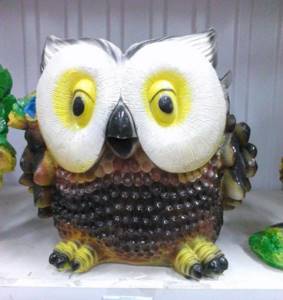
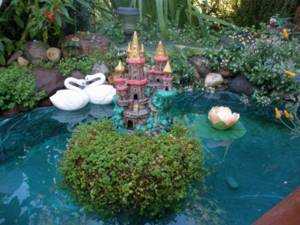
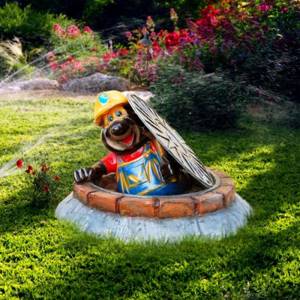
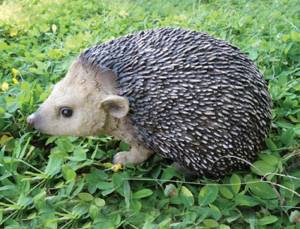
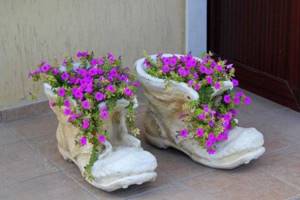
What crafts are suitable for the garden?
A dacha or a garden on a personal plot is a place where you not only work, but also relax in body and soul. For this reason, it is necessary to arrange the site in such a way that it looks decent.
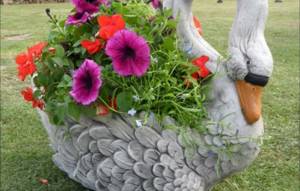
A successful landscape design can be complemented by a variety of plaster figures that you can make with your own hands.
In order to create any craft with high quality, it is best to watch a video master class on plaster crafts.
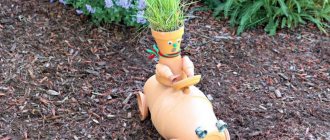
For example, gnomes will look good in the garden or on the lawn. Little cheerful fatties in caps will certainly decorate your garden.

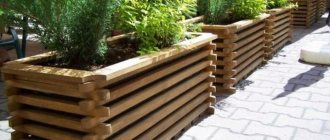
In addition, you can add a well or mill made from scrap materials.
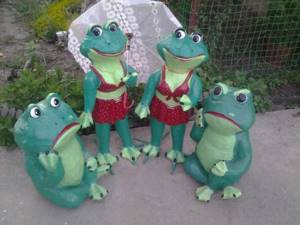
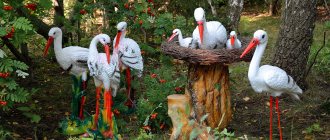
If there is a fountain or pond on the site, then plaster frogs will look quite beautiful. Also, with enough experience, you can make storks or water lilies.
Crafts from matches - 125 photos of original ideas for professionals and simple crafts for beginners
Crafts with children: a review of interesting and exciting ideas for creating toys and decorations (115 photos)
- Crafts from tights: 60 photos of basic ideas and sewing original crafts with your own hands
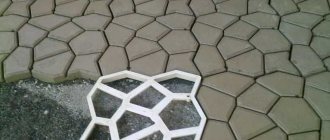
You can place pebbles in the shape of shells along the edges of the pond. Another successful craft in this case is a plaster turtle. You can even lay out a nice path from unusually shaped plaster tiles.
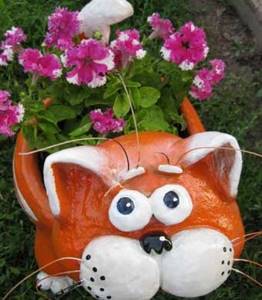
Crafts made from plaster for the home are mainly also various figures.
Painting plaster figures
Once you decide to start making crafts from plaster, the question of painting them arises. What and how exactly to paint future jewelry?
Let's figure this out. Painting not only allows you to make crafts more vibrant, beautiful and bright, but also protects them from dirt and water.
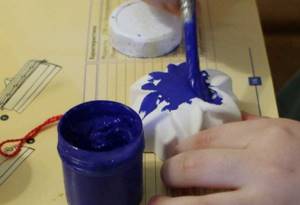
Many beginning craftswomen add paint when preparing the solution. This is not correct, because in this case it is impossible to make a craft from several flowers.

In addition, this color is not protection from negative influences from the outside. It is necessary to paint the figurine after it has completely hardened.
As for the type of paint for this task, almost any composition with water-repellent properties will do. Acrylic paint or ocher are most popular in this role.
But remember that painting is not a complete protective layer. From above, the already dried product is opened in several layers with varnish; here you can also use acrylic varnish.
Show your imagination and make New Year's crafts from plaster with your children; this activity will be enjoyable and useful.
Flowerbed cat
To create such a figurine we will need the following materials:
- Plastic canister;
- Cement;
- Sand;
- Gypsum;
- Several wooden planks;
- Wire;
- Water-based paint or car paint;
- Varnish;
- Latex gloves;
- Sandpaper;
- Water.
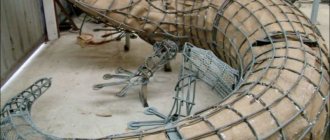
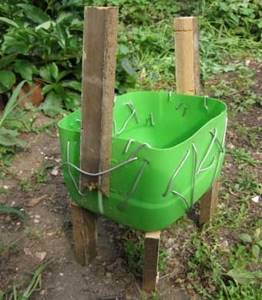
Step 1
First you need to cut the plastic canister as shown in the photo. We would like the frame of the figurine to be made from wooden planks. We wrap the canister with wire to strengthen our craft.
Step 2
Now the next step: how to dilute plaster. Rubber gloves must be worn. We will mix the cement mortar in the proportion of 1 part sand and 1 part cement, and we will add gypsum only to the portion that is in our hand.
Article on the topic: Women's dress - shirt: creating a pattern for cutting and sewing
Take a handful of solution in your hand and add a spoonful of gypsum to it, knead a little in your hands, roll it into a sausage and attach it to the frame. Apply portion by portion, making the necessary bulges, smoothing the surface.
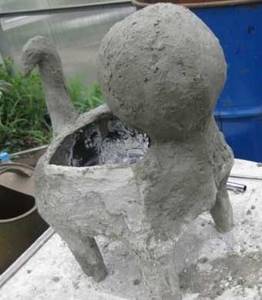
Step 3
We sculpt the cat's face. This is where your imagination comes in. We sculpt small parts separately.
Before gluing them to the main frame, you need to lubricate the surface with water for better adhesion of the solution.
Step 4
We put our hand in the water and polish our cat, smoothing out the unevenness. Next, cover with cellophane for 4 days to allow the figure to dry. The first day we moisten the surface of the craft with water. After drying, sand the surface with sandpaper.
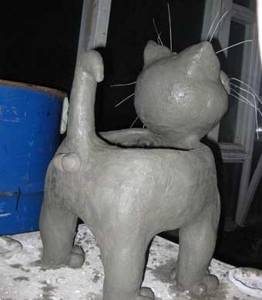
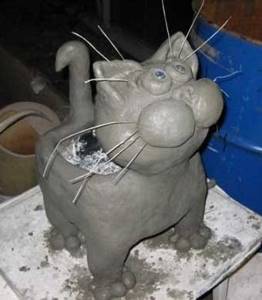
Step 5
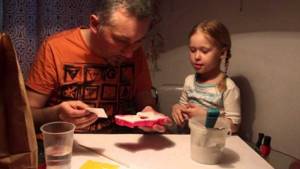
There is very little left. We paint the figurine with the prepared materials, and then varnish it. You can leave the coloring process for the children, let them show their imagination, and thereby you will spend time together.
We got such a wonderful figurine for the dacha. Remove the cat from the street every winter, otherwise the cement may crack.
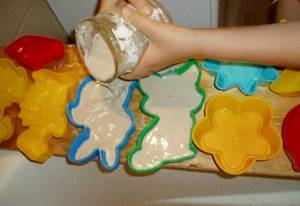
Mushrooms, gnomes, various insects, butterflies and others are also very popular. If the planned figures are small in size, then you can use silicone molds to make them. Before pouring the solution into the mold, it must be lubricated with silicone so that the finished product can be easily removed from the mold.
Photos of plaster crafts
Read here - Crafts from beads - step-by-step instructions and patterns for weaving jewelry, toys and products (80 photos)
Did you like the article?
1+