Traditional paths
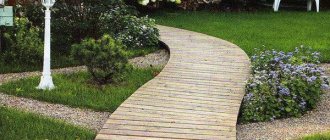
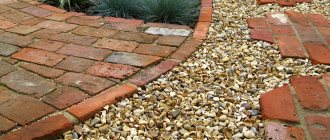
Previously, one of the simplest options was used to create garden paths - it was laid out of some material, such as brick, tile, stone or even wood.
Everything was done extremely simply, because in some cases there was no need to even prepare the ground, which is why this technology has not lost its popularity even today.
At the same time, every day people are increasingly looking for photos of path shapes on the Internet, in an effort to make their path special.
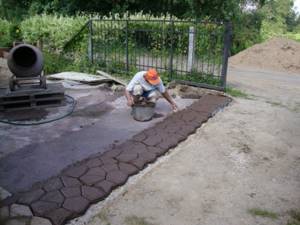
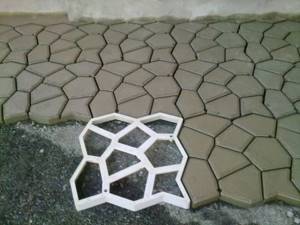
Using walkway molds is a lot like one of the old, reliable ways to create trails—filling predetermined boundaries with a cement-based mixture that will eventually become the walkway.
This option was best suited for garden paths without smooth turns. This is because the boundaries were usually established using wooden planks, which were usually removed when the solution hardened.
There was another option - for greater strength, curbs were installed on the sides of the path at its height, which were the original boundaries.
As you understand, not everyone needs perfectly straight paths on the site, and therefore something new was needed that would make the process of creating a path more flexible and less constrained.
What are the reasons to choose forms for a garden path?
Construction of a garden path is an excellent option for private construction, which will take a minimum of effort and time from the developer if during the work he uses special forms to create concrete blanks. They provide the opportunity to experience a number of benefits:
- low cost of hand-made workpieces;
— the ability to cast molds of any size with various dimensions;
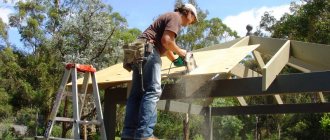
— ease of use of forms allows construction work to be carried out by beginners with minimal experience in concreting;
— the ability to regulate the thickness of each workpiece and the parameters of the concrete mixture used for pouring it. Thus, the developer can add special additives to provide concrete with frost resistance, reinforce the form to achieve maximum rigidity and control the thickness of the poured concrete layer;
— special stencils, which are used to process the surface of cast forms, allow you to imitate the texture of stone, wood or clinker bricks on the workpieces;
— low consumption of concrete during the process of pouring blanks reduces the need for materials and saves the developer money;
- no restrictions in the choice of path design - thanks to a wide selection of shapes, it can be straight, winding, etc.
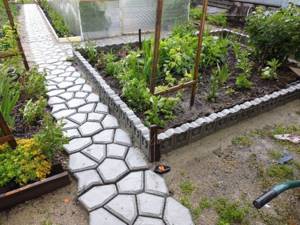
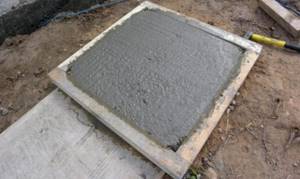
Preparing the base
Before starting work, we need to prepare the plot of land on which our path will be located. First of all, we remove all the grass, especially the weeds.
At the same time, if there are any, you need to remove the remains of the old path. After this we need to remove the top layer of soil.
The standard height of the mold for paths is 6 cm, but we need to remove the soil with a margin of up to 10 cm.
Even though we use plastic molds, the base still needs to be leveled. It is not at all necessary for us to create a perfectly flat surface, like for tiles, because when poured into a mold, our mixture itself will be able to fill in minor unevenness.

Since we are making a path and not building a building, we do not need any foundation and it will be enough to simply compact the earth that will be under the path.
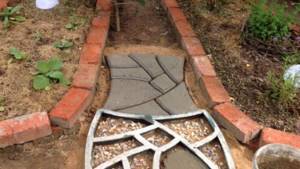
If you wish, you can lay a layer of sand and crushed stone at the base, because it will not only help make the path better, but will also prevent weeds from making their way to the top.
To make the path even, you can initially stretch the cord or thread along the intended boundaries.
Ready-made stencils for making tracks
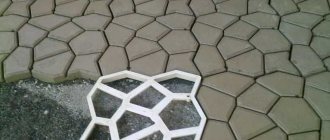
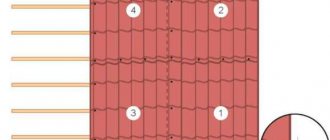
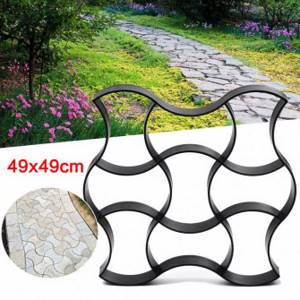
Matrices differ in configuration, size, and material of manufacture. The mold for making garden paths on site is made without a bottom. It is used where the future garden path is planned, as a kind of formwork. The current sizes of finished stencils are 60x60 cm, 40x40 cm, 44x44 cm or 90x90 cm.
The following forms are available on the market:
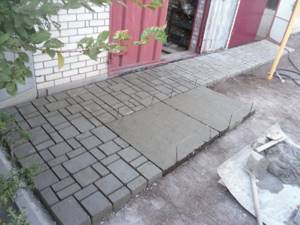
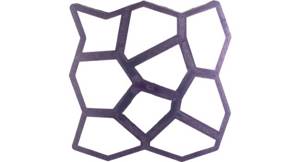
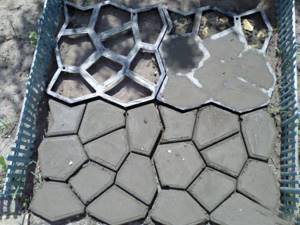
- Rectangular stencil. Ideal for a path near the house. Has a classic design. If you use rectangular blanks of different sizes, then the pattern of rectangles will look original and complete. A garden path in the form of free paving looks more natural - it is distinguished by elements of various sizes. The cells do not have a clear geometry, but the masonry is dense.
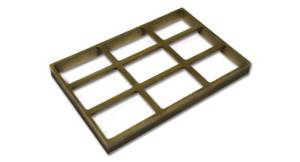
Rectangular stencil
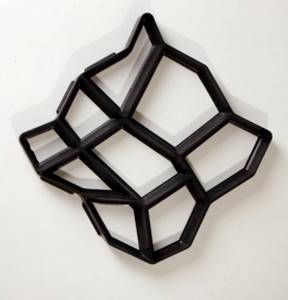
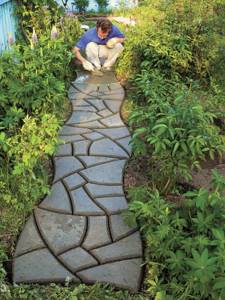
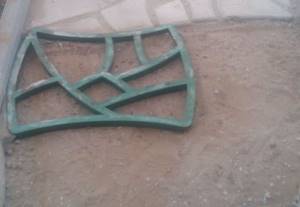
- A matrix of elements of different sizes. In it, large stones alternate with small ones. The illusion that this site is of natural origin looks interesting. The stencil is ideal for paving an area where there will be a picnic area.
Matrix of elements of different sizes
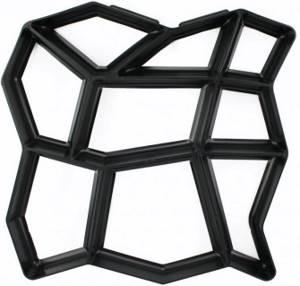
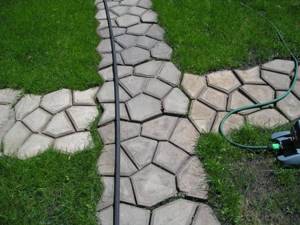
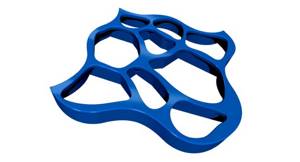
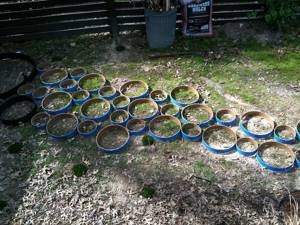
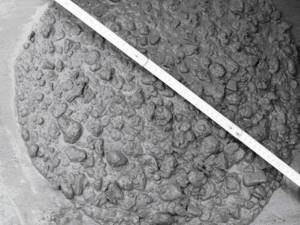
- Stencils with imitation of round stones. Optimal for paths near flower beds. Harmonious near a gazebo surrounded by bushes.
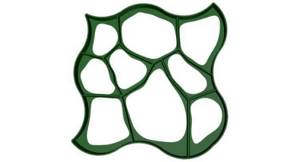
Stencil with imitation of round stones
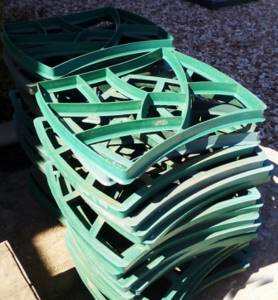
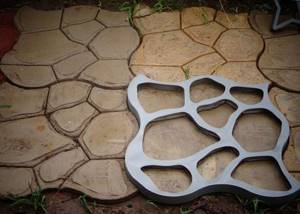
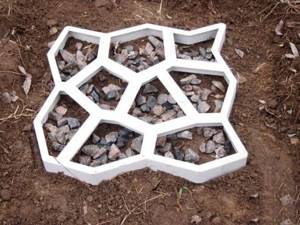
Plastic
A plastic mold for pouring a garden path is economical and easy to use. Stencils of fancy shapes are made from durable plastic. This matrix is flexible, does not stick to concrete, and is therefore suitable for repeated use. Ready-made forms are relatively inexpensive. The disadvantage is low strength, less than that of metal or wood.
The cost of a plastic mold depends on the ornament and size. On average, the price varies between 500–800 rubles. For example, a stencil from Hormusend 60x60x6 cm costs 800 rubles, and from Master Sad 70x60x4.8 cm costs 580 rubles. Famous brands:
- MasterSad;
- Garden Road;
- Vortex;
- Hormusend.
Hormusend for garden path
Wooden
Wooden paving molds are very rare. It is heavy, and it is difficult to make original shapes from wooden blocks. The surface of the material will lose its evenness over time, because... Particles come off the tree during the process of making the path. It is impossible to cast a monolithic form from such material. Advantages: strength, availability and durability.
Wood stencil
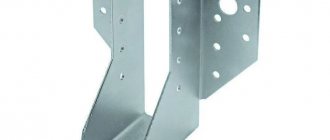
Metal
Stencils with different designs and ornaments are made from metal. The walls of the product can be thin or thick. The finished form is strong and durable. It is able to withstand significant loads. Flaws:
- casting a metal matrix requires a lot of labor;
- metal is susceptible to corrosion;
- the finished matrix is heavier than its analogues.
Metal stencils for paths
Products made of polypropylene
The advantages of polypropylene molds are similar to the advantages of plastic matrices. This material has high wear resistance, is resistant to inorganic aggressive environments and is affordable. Under increased mechanical load, the polypropylene mold may break, because In terms of strength, it is inferior to its metal or wooden counterpart. With careful use, polypropylene lasts a long time. Average price (60x60x2 cm) – 700–800 rubles. Famous brands:
- Vortex;
- Hormusend.

Vortex track mold
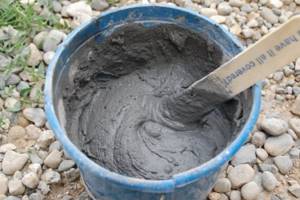
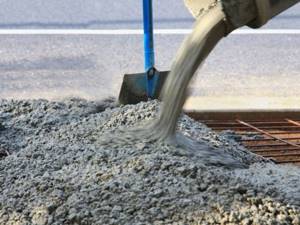
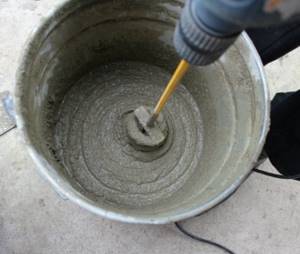
Creating a solution
The basis of the solution that will be poured into our paving forms will be cement and sand. You will also need to add crushed stone, plasticizer and fiberglass to them.
Detailed recipes for various solutions can be found on the Internet, although large packages of forms sometimes come with complete instructions.
The last element of the solution can be the dye that we talked about earlier. This is necessary in order to get a certain color of the path, for example, if it goes from the steps of the house, and you want the color to match.
Let us warn you right away - achieving the same color in such conditions is quite difficult, and then you should consider the option of using completely different colors - one for the steps, and the second for the paths along the site.
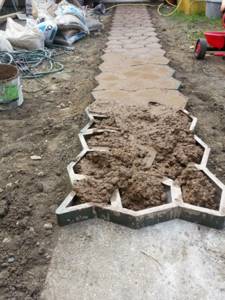
Filling forms
When all the components of the process are ready, we can begin creating our track. However, before this it is worth preparing one more element - lubricant.
Whether you're buying stone or tile molds, unlubricated grout will cling primarily to the sides of the mold.
This is why you need a reusable lubricant, instead of which you can use improvised materials, such as machine oil.
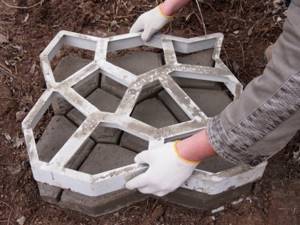
You can use different tools to apply the solution. You can do everything with a trowel, but it will be faster to first apply the mortar with a shovel, and then do more delicate work with a trowel.
The latter is needed in order to carefully fill out the form and not leave gaps in it. In order not to leave empty space at the bottom, you can use a rubberized hammer along with the form.
After filling the form with the solution, you need to level the top of our path. It's best to use a rule for this, but a regular wooden batten should also do the job.
It is important to make sure that there are no excesses left on top of the form, because they may interfere with its removal from the already hardened section of the path. The solution will take about half an hour to harden, after which the mold can be used again.